当你决定在你的线上店铺中售卖物品时,你需要确定你要通过哪种方式来将货品运输到你的客户手上。
Shopify店铺搭建具有店内搭建功能,它可以帮助你计算出合理的运输费用是多少,比如说DHL,和UPS等的运输费用。
随着Shopify后台的运输功能,你可以更方便快捷且不必担心任何差错的通过后台操作下单,打印多种运输标签的工作。
不像Woocommerce,BigCommerce,Magento和Volusion等其他自建站那样,Shopify可以通过世界最大的运输货运公司来提前安排已存在的货运订单,从而尽可能的降低客户的服务费用的成本。
更多的是,Shopify后台自带运输功能,你只需要进入到‘设置’页面,通过点击‘运输’选项来设置。
输入所有你可以提供的信息(货品的规格和重量等)到后台,便可以通过后台直接设置Shopify的运输方式。
一旦你将Shopify和选中的运输公司绑定一起后,便可以完成货品运输的所有设置并开启运输服务了。
通常,在产品信息下方会有多项运输选项可供选择。你可以在后台选择运输的速度,或者升级该选项给你的客户提供更快相对贵一点的物流速度和慢一点且相对便宜一点的物流速度。
记住,当Shopify给你提供大量物流方式的选项中,你可以选择提供哪种物流运输方式,这时,你的客户在页面中只会看到你提供的物流选项并进行选择。
Shopify建站之物流设置
我们登录Shopify后,点击Settings->Shipping and delivery,进入物流设置页面。
Shopify物流设置包括六大部分,分别是Rates at checkout、Local delivery、Additional delivery methods、Packages、Packing slips和Accounts and integrations。
Rates at checkout
以前Shopify物流设置的首位是Shipping origin(发货地),其次才是Shipping rates at checkout。
现在,发货地和Shipping rates at checkout合二为一了,变成Rates at checkout。
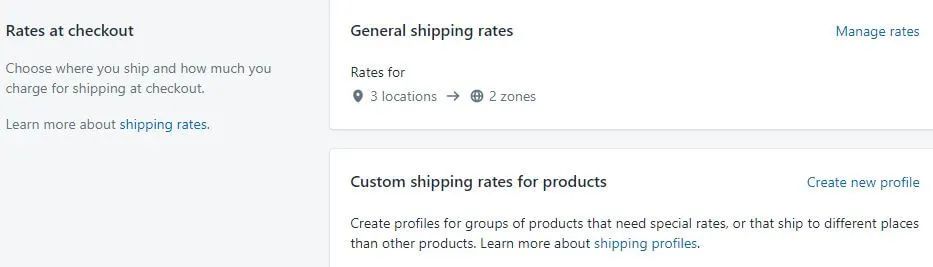
General shipping rates
General shipping rates是Shopify一般物流费率设置的地方,点击Manage rates进入一般物流设置页面。
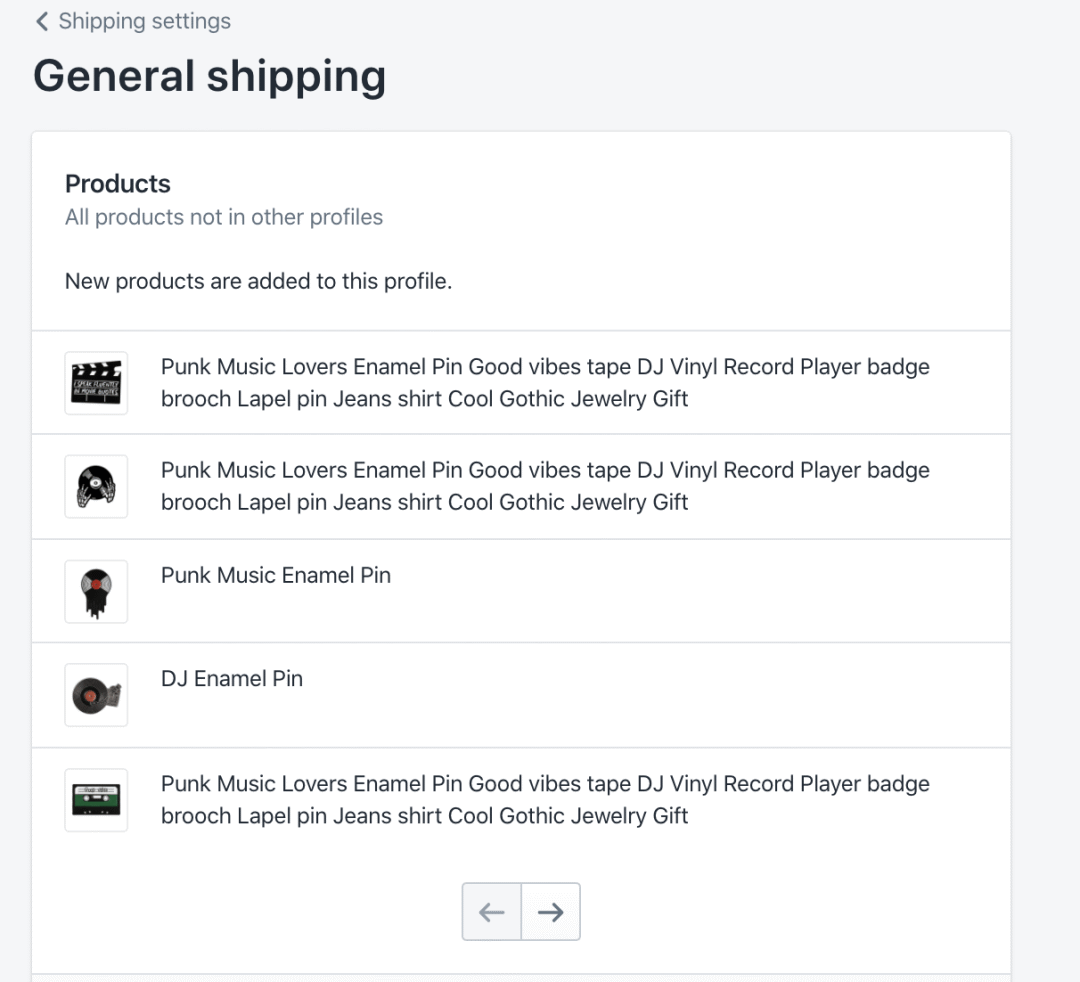
默认情况下,所有的产品都会使用这个一般物流。
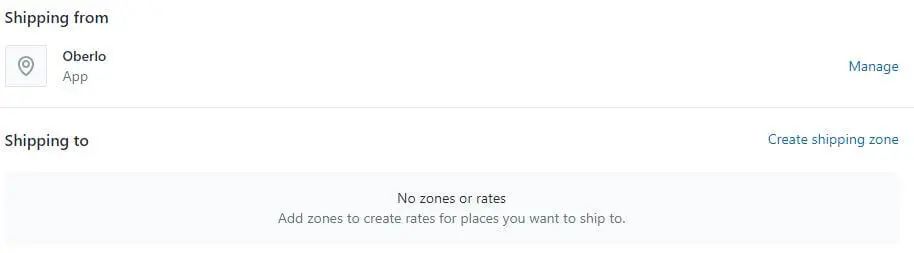
这里Shipping from是管理发货地的地方。

点击Show details展开,可管理具体发货地信息。
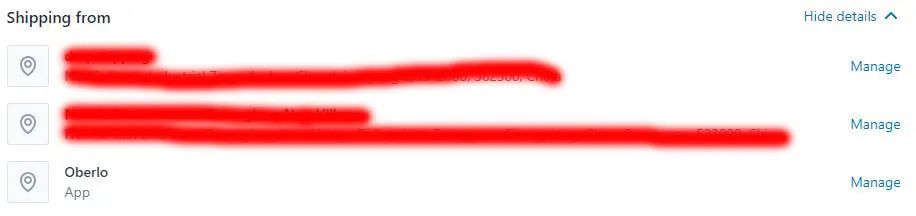
我这里有三个发货地,前两个一个是注册时添加的,一个是后来在Locations添加的。前两个地址都可以在Settings->Locations处管理。
第三个地址是Oberlo,这个是做dropshipping通常选择的发货地。
只要在左侧菜单Apps处添加了Oberlo,Shopify会自动在此处加上Oberlo这个发货地。
一般物流设置方面,Shopify默认为我们设置两个发货区域。
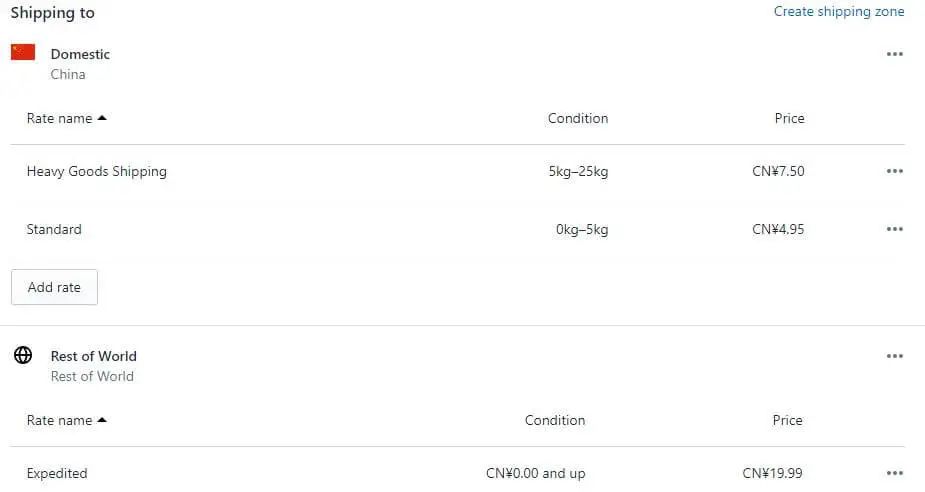
第一个区域是Domestic,选择的是中国。
由于我们做的是跨境电商,那么这个是可以删除的。单击右侧三个点,选择Delete,就可以删除掉了。
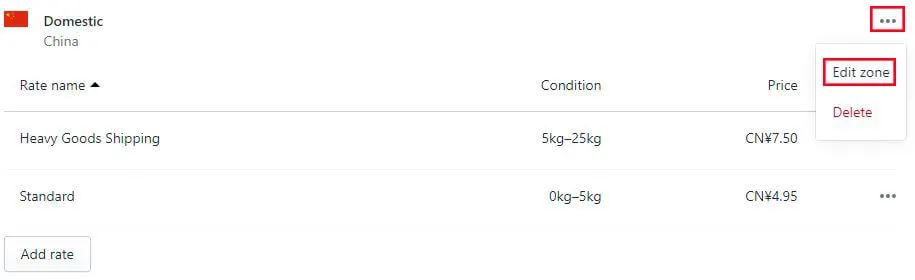
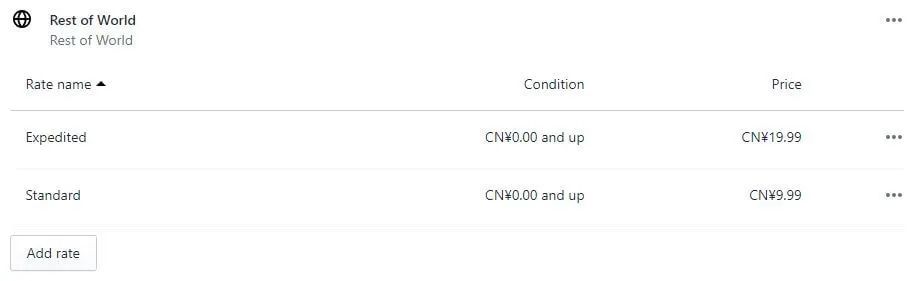
第二个区域是Rest of World。总共两种发货方式:Standard(费用9.99元)和Expedited(费用19.99元)。
如果要增加无条件免费发货,那么就点击Add rate进入发货方式设置页面。

Use carrier or app to calculate rates是使用第三方承运商计算运费,这个是为位于美国和加拿大并使用Shopify Shipping的卖家准备的。
所以,选择Set up your own rates,并在Rate name直接输入Free Shipping(这个名称会显示在用户结账时的物流方式选择上),Price设置为0。
条件(condition)可以选择(基于重量)Based on item weight或Based on order price(基于订单价格),具体的重量或价格范围不用填,然后单击Done完成。
如要要设置订单价格大于50美元包邮,则可以在条件中基于价格的设置中,最低价(Minimum price)设为50,就可以了。

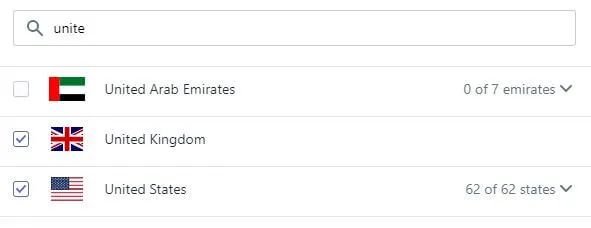
如果我们要针对一些国家包邮(比如美国,英国),墨西哥、巴西不包邮,其他国家不发货,则可以这么设置。
首先,单击Rest of World右边的三个点,点击Edit zone进入地区设置页面。
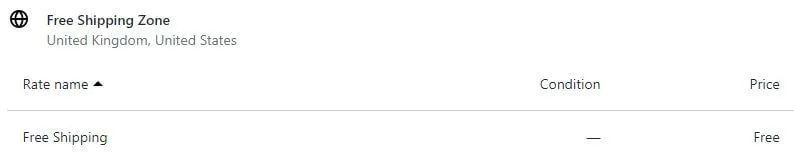
Zone name自己命名一个,如Free Shipping Zone。
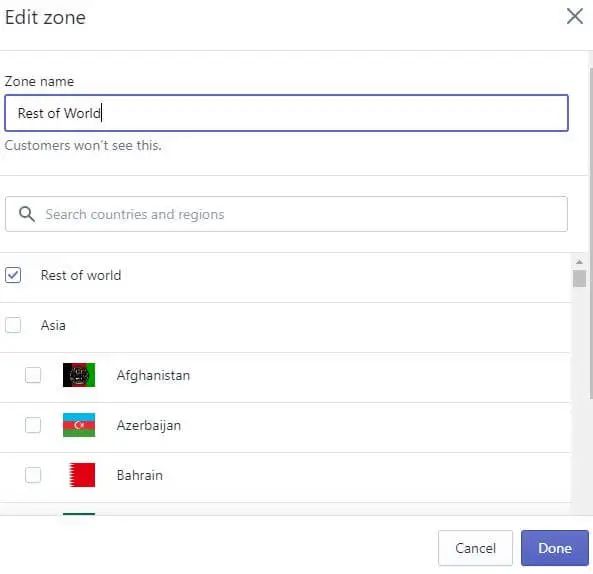
国家可以拖动滚动条根据大洲和字母顺序寻找,或者在搜索框输入国家名寻找。
然后,点击Done。结果如下。
剩下的国家没有设置配送,会显示以下提示。
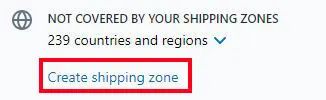
我们单击Create shipping zone,继续设置墨西哥和巴西。这个设置跟上面一样,就直接看结果了。
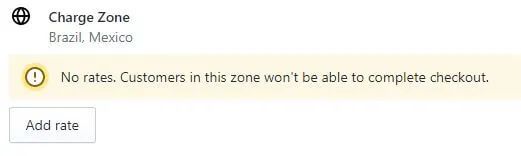
具体的物流费率设置参照上面的免费物流设置。
剩下的国家由于不配送,就不用设置了。
发货地单独配置物流策略
上面的物流策略会同时作用于我的三个发货地。
如果要为某个发货地单独设置一个物流策略,那么可以单击Shipping from下面某个发货地(如Oberlo)右侧的Manage。

这里有两个选项:CREATE NEW RATES和REMOVE RATES。
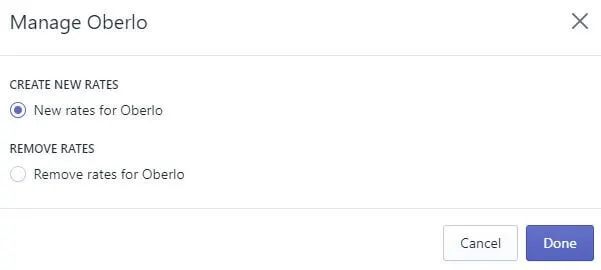
选择CREATE NEW RATES,那么就可以单独设置这个发货地的物流费率了。
如果要把某个发货地删除,那么可以选择REMOVE RATES,点击Done。那么这个发货地就会从Shipping from删除掉。
这个发货地不会从Settings->Locations删除掉,而是被移到了这个General Shipping页面的最下边。

我们可以单击Add rates,进入以下页面。
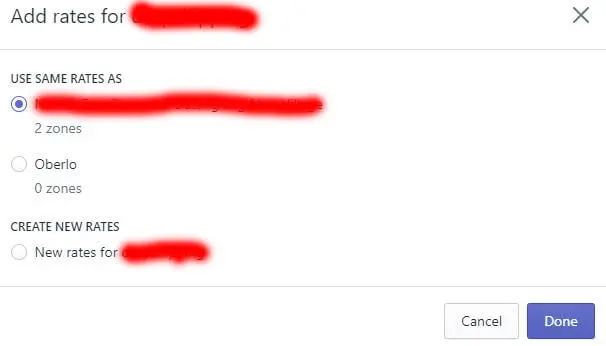
由于我这里Oberlo在上面已经单独设置了物流策略,所以这里就有两种物流策略可用。
或者直接再重新创建一个。
Custom shipping rates for products

如果我们要单独针对某些商品计算运费,那么可以单击Create new profile,进入Create shipping profile页面。
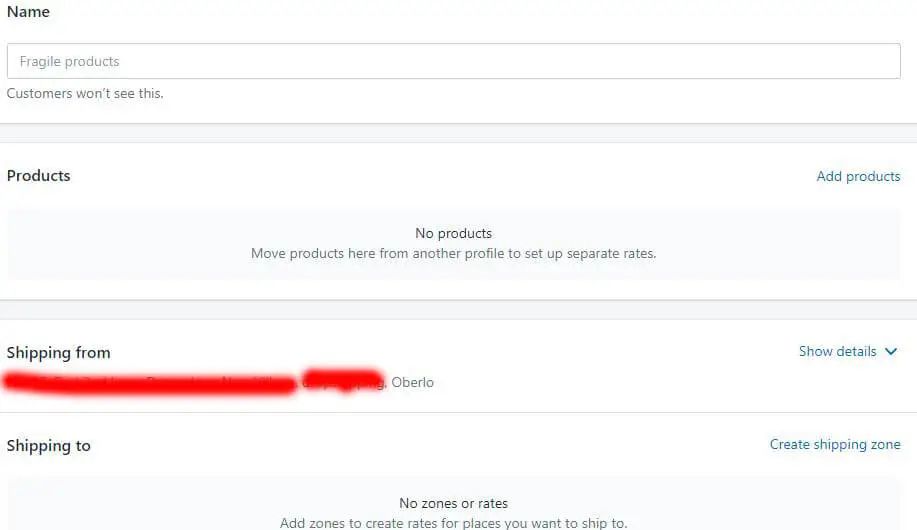
名字随便取,然后产品可以点击Add products添加。
下面的Shipping from和Shipping to跟一般设置里面一样。
Local delivery
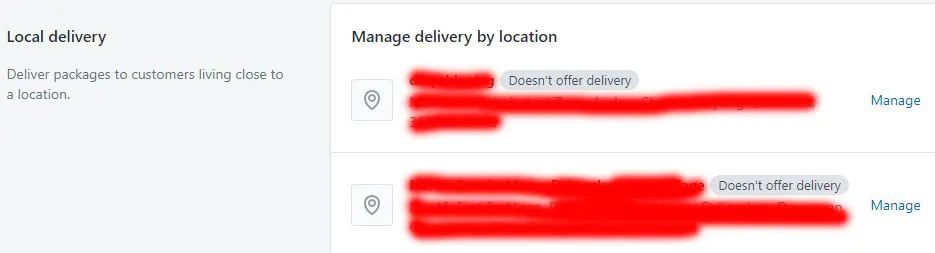
这是本地发货。如果在当地有海外仓的话,那么可以配置。
我们点击某个地址右边的Manage,进入以下页面。

选中This location offers local delivery,下方会展示配送区域,物流费率设置和结账时的展示效果。
配送区域(Delivery area)

配送区域(Delivery area)下方有一条警告,要求我们要验证地址。
因为我这里的地址是中国地址,无法验证通过,所以警告取消不了。
Postal codes(邮政编码)区域虽然可以填写,但估计填了也没用,除非我们的物流时效很快。
如果是美国地址,它会显示以下页面。

可以看到,警告没有了,而且配送区域除了邮政编码外,还可以填写delivery radius(运送半径)。
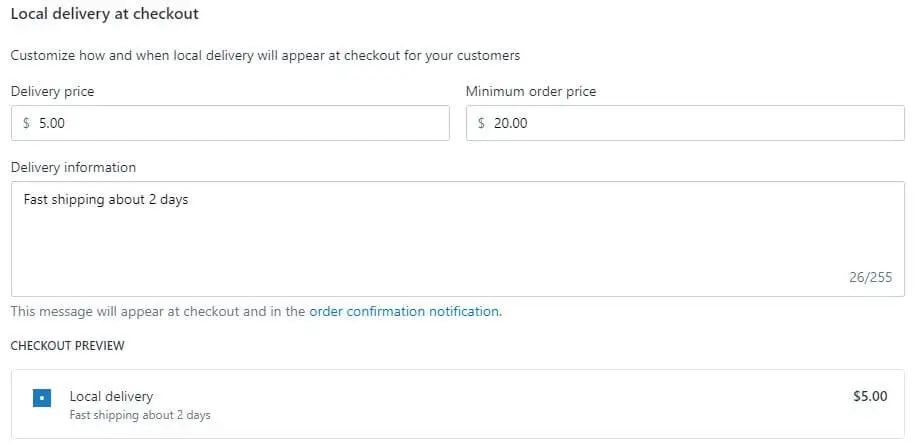
Local delivery at checkout
这里填写结账时的显示的本地送货的一些信息。CHECKOUT PREVIEW就是预览效果。
Additional delivery methods

这里是设置可以让客户上门取件的,显然,这个功能不适合我们,忽略掉。
Packages

这里是设置包裹的尺寸和重量(不包括产品)的。可以根据需要设置。
Packing slips

这里提供可打印的装箱单模板,可随货物一起发送给客户。觉得模板不合适的,可单击Edit修改模板。
由于模板是用HTML、CSS和Liquid编写,所以想要修改模板,必须具有一定编程能力的人才可以胜任。
Accounts and integrations

这里主要集成其他物流方式。
Carrier accounts
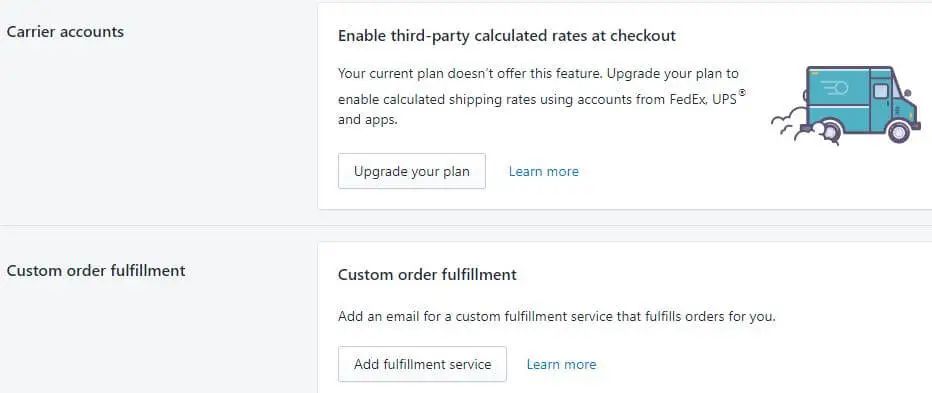
这里主要是第三方物流方式,比如USPS、加拿大邮政、UPS、Fedex等,而且Shopify的基础套餐根本无法使用这些功能,必须是Shopify 高级或Shopify Plus套餐才可以。
Custom order fulfillment
这里可以自定义其他发货平台。单击Add fulfillment service,在弹出框中输入其他发货平台的名称和电子邮件。
当我们的店铺产生了订单后,我们需要将订单状态转为已发货,Shopify会向其他发货平台发送一封包含所有订单信息的电子邮件,这样对方就可以发货。
相关文章